複数のモデルを足したり(+)引いたり(-)共通部を抜きだしたりして新しい形状を作成します
その他のBlender機能紹介一覧はこちらhttps://nextcreating.online/blender_howto_list
手順1
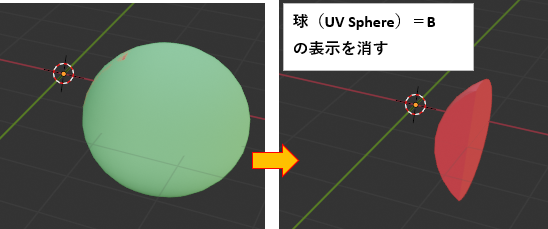
※四角(Cube)と球(UV Sphere)を少し重ねて配置
![](https://nextcreating.online/wp-content/uploads/2021/07/image-35.png)
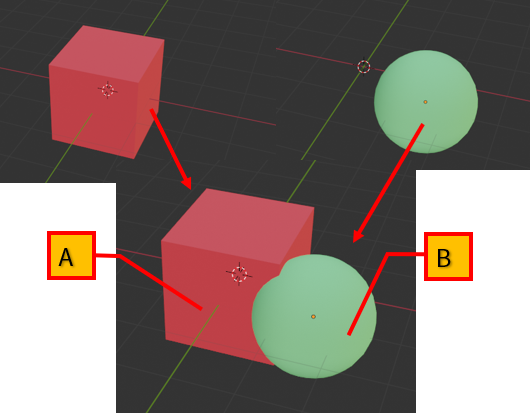
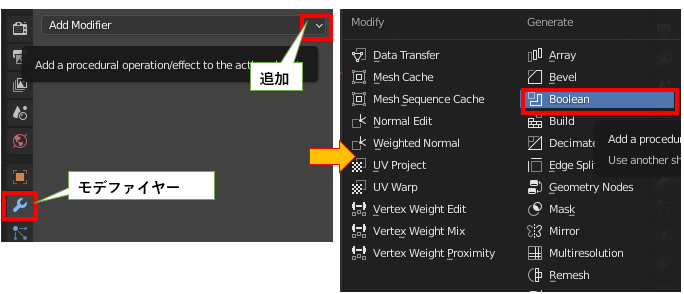
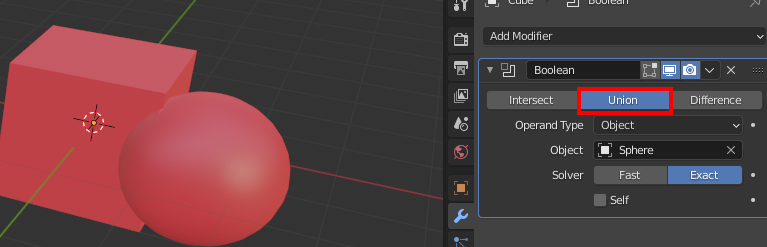
①四角(Cube)=Aを選択し、モデファイヤーのアイコンを選択し追加でブーリアンを選択
![](https://nextcreating.online/wp-content/uploads/2021/07/image-33.png)
②インターセクトを選択し、オブジェクトのスポイドで球(UV Sphere)=Bを選択
![](https://nextcreating.online/wp-content/uploads/2021/07/image-38.png)
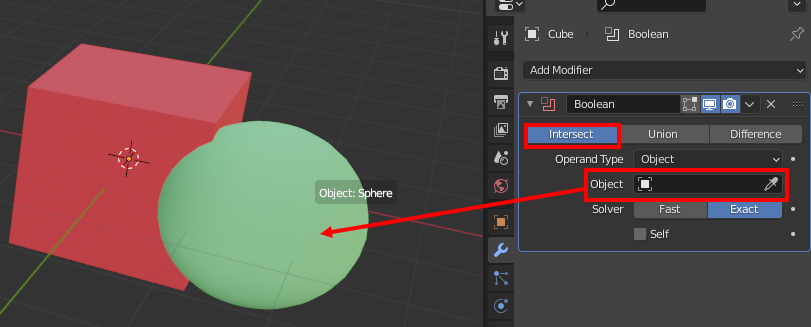
③Bの表示を消すと、AがBと重なっている部分だけの形状になっている事が分かる
![](https://nextcreating.online/wp-content/uploads/2021/07/image-39.png)
④ユニオンに変更すると、AにBがくっついた形状になる
![](https://nextcreating.online/wp-content/uploads/2021/07/image-40.png)
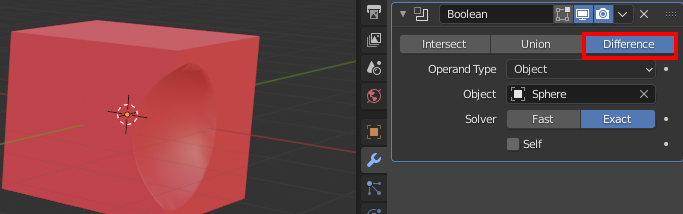
⑤ディファレンスにするとAからBが引かれた形状になる
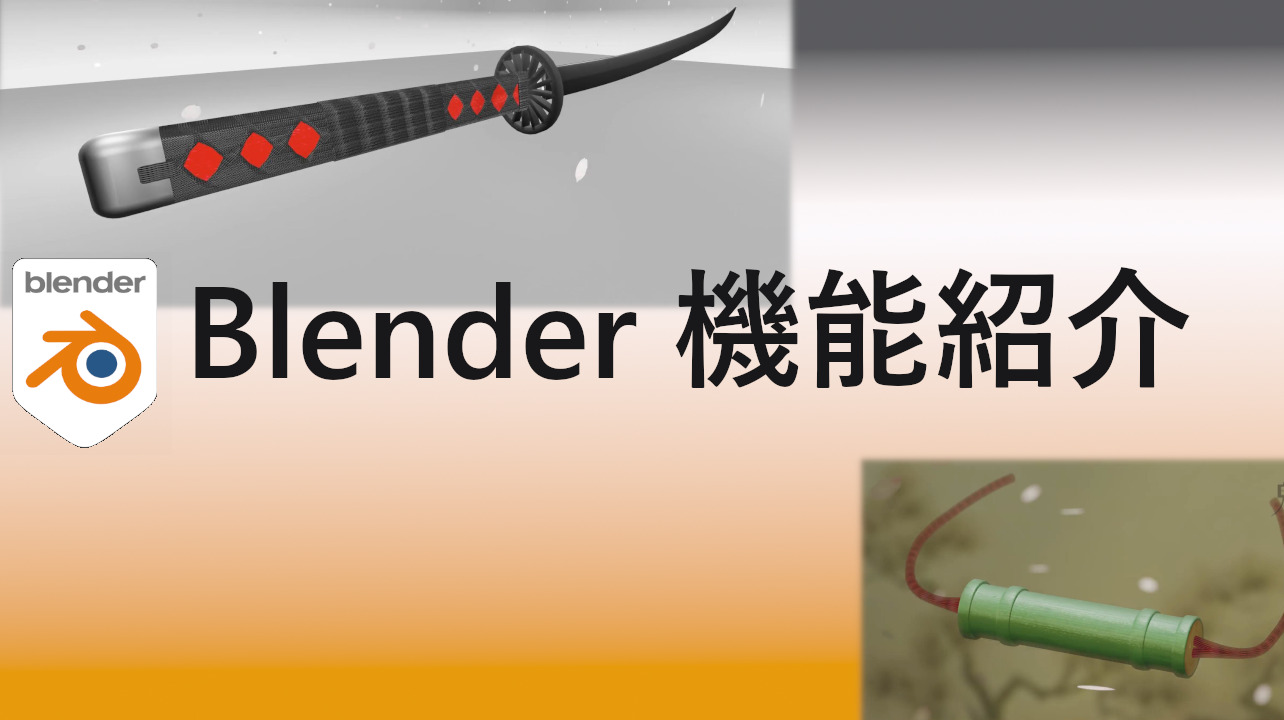
![](https://nextcreating.online/wp-content/uploads/2021/07/image-41.png)
使用例:胡蝶しのぶの刀
胡蝶しのぶの刀は切り欠きがありますので、その部分をブーリアン機能で作成しています
コメント